
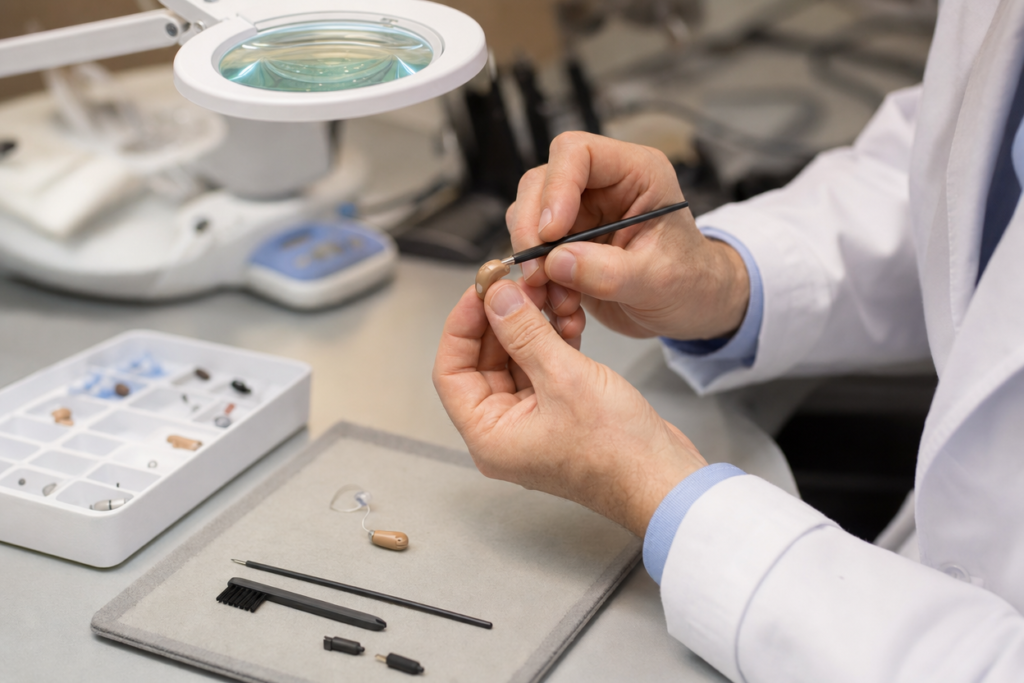
A hearing aid wax guard is a small protective filter used in many devices to help keep wax away from the sound outlet. Before replacing one, identify the exact filter system fitted to your hearing aid. Filters that look alike can use different sizes, holders, and removal tools.
This guide focuses on choosing and handling the correct replacement. It does not assume that weak sound always means a blocked filter. If your actual hearing changes suddenly, seek urgent medical assessment instead of working through a device cleaning routine.
Start with identification, not a shopping search
Write down the hearing aid model and the name on your current filter package. If the receiver was replaced during a repair, ask whether the required filter changed too. A brand name on its own may not identify the right consumable.
Phonak publishes separate instructions for CeruStop filters and HF3 filters used with certain SlimTip receivers. Those are examples of why the system name matters. They are not instructions to use either part in every Phonak device.
If you have lost the packaging, bring the hearing aid to your hearing care team. A clear identification is more useful than ordering several inexpensive options and seeing which one appears to fit.
A supplies card worth keeping
| Item | Your record |
|---|---|
| Hearing aid | Brand, model, and which ear |
| Receiver or earpiece | Exact type confirmed by the team |
| Wax guard | System name and replacement package label |
| Tool | The tool supplied or specified for that system |
| Instructions | Manufacturer guide and date of your demonstration |
Store a photo of this information on your phone or keep a printed copy with your supplies. Include any difference between the left and right sides. A family member helping you order replacements should be able to use the record without guessing.
Before changing a filter
Choose a clean, dry, well-lit surface. Read the instructions all the way through before starting, including whether the dome or another part must first be removed. If you cannot comfortably see or hold the parts, ask for help with the task rather than pushing through it.
Use the specified tool. Do not substitute a needle, pin, drill bit, or household adhesive. The goal is a correctly fitted replacement without damage to the sound outlet, not simply removing something visible.
Follow the manufacturer procedure for your system, then check that any removed earpiece is correctly reattached before wearing the device. Stop if a part does not release or seat as shown. Resistance is not an invitation to use more force.
Keep the result separate from the diagnosis
After an instructed filter change, note what happened. Did the sound return to its usual level? Did it remain weak? Did a new noise appear? That observation helps the team decide what to check next, but it does not prove what is happening inside your ear.
If sound is still poor, avoid cycling through multiple filters or changing unrelated parts. Bring the hearing aid and describe the steps you already completed. Our adjustment or repair guide explains how to organize that discussion.
If your hearing itself changes abruptly, including when you are not wearing the device, seek medical care immediately. NIDCD classifies sudden hearing loss as a medical emergency. Do not assume wax is responsible.
How often should a wax guard be replaced?
Ask for guidance specific to your model and care needs. Instead of relying on an internet rule such as “every two weeks,” keep a simple record of changes and any symptoms that preceded them. Bring that record if filters seem to need attention much more often than before.
The record can be short: date, side, what you noticed, and whether replacement helped. Do not use it to delay a needed appointment. It is simply a way to replace a vague memory with a clearer account.
Questions to settle during a demonstration
- Which exact filter system is installed in each hearing aid?
- Is this part intended for me to change at home?
- Can you watch me do the replacement once?
- How do I recognize that the new filter is properly seated?
- Which signs mean I should stop and bring the device in?
If you help a parent or partner with their devices, attend the demonstration together if they wish. Agree on where supplies will be stored and which device is which. Keep small parts out of reach of children and pets.
Our device service and troubleshooting support is for prescription hearing aids. The Hearing Guy does not service OTC hearing devices. For OTC device support, contact the manufacturer or seller.
Make care easier to repeat
The Hearing Guy provides hearing aid service in Asheville and Hendersonville. Our independent team includes Dr. Brent Steele, MD, BC-HIS. Request a visit with your hearing aids and existing supplies so the next replacement starts with the right part and clear instructions.
For the broader routine, use our safe hearing aid cleaning guide. This article addresses filter identification and the replacement decision, not earwax removal from the ear.
Sources checked October 2026: Phonak CeruStop and HF3 instructions; NIDCD sudden hearing loss guidance. Always follow the instructions for the exact fitted device.